Stable Block roof - part renewal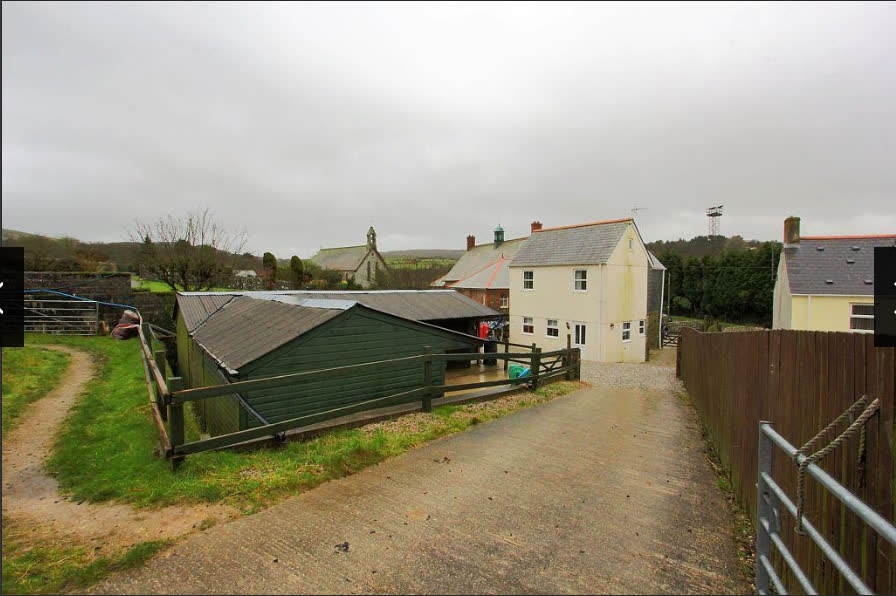
After a few weeks on the property, we realized that we needed to do some extra work on the Stable Block roof as there were small areas that let in water when it was raining, not really a problem for use in keeping horses, but not so good when you have tools and dry goods to keep. So the corrugated concrete roof panels had to come off and be replaced with a felted roof on the west side of the roof where the workshops were being done. Fortunately, as we had moved in on the 16th July, the weather was still very good and did allow us to do the task without too much worry about it raining too hard.
Having favourable weather for the next week, we got to work. First off was the metal apex caps, and they came off pretty easily. Next, the concrete sheets had to be removed and the bolts they were secured with had rusted up beyond use, so they had to be cut off first with an angle grinder in order for each sheet to be removed.
We worked our way along each side, taking off a sheet at a time and stacking them on the sand ring. After the job was done and all sheets removed, the remnants of the bolts had to be cut down to the roof timbers and the frame cleaned down in readiness for installing the new boards for the roof.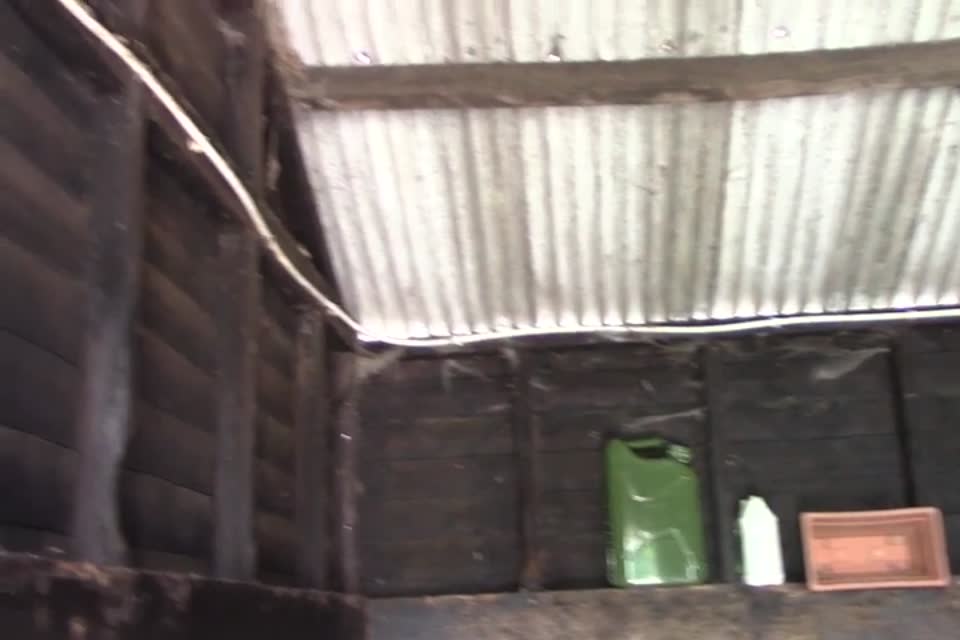
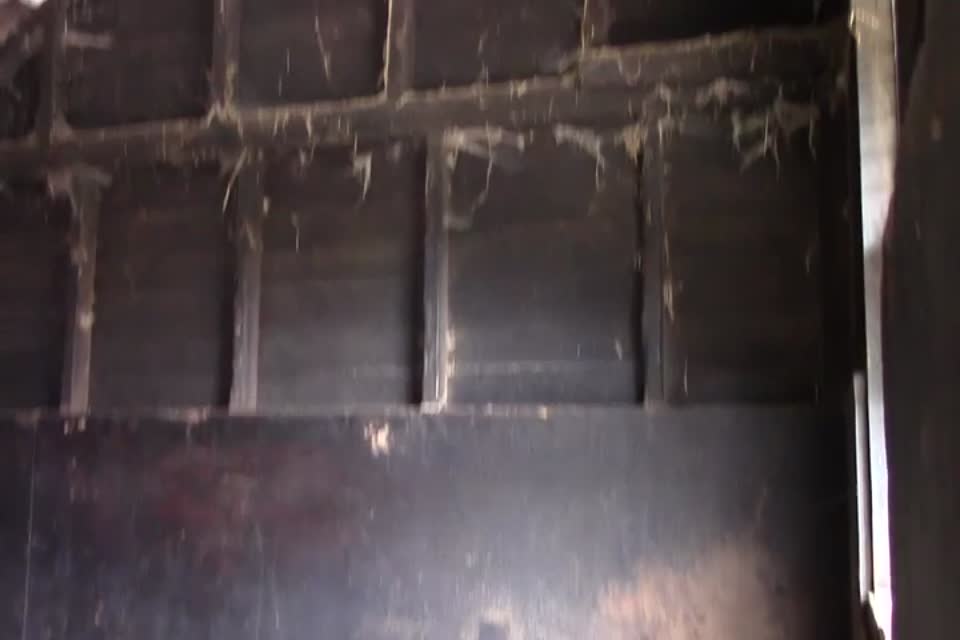
The inside of the stable block can be seen in the fuzzy photos above, but the cleaning itself took quite a bit of work to do. Using Builders Boards, OSB x .75 inch, these were cut to length and placed on the roof timbers and screwed into position to provide stable support for the roof covering which was to follow.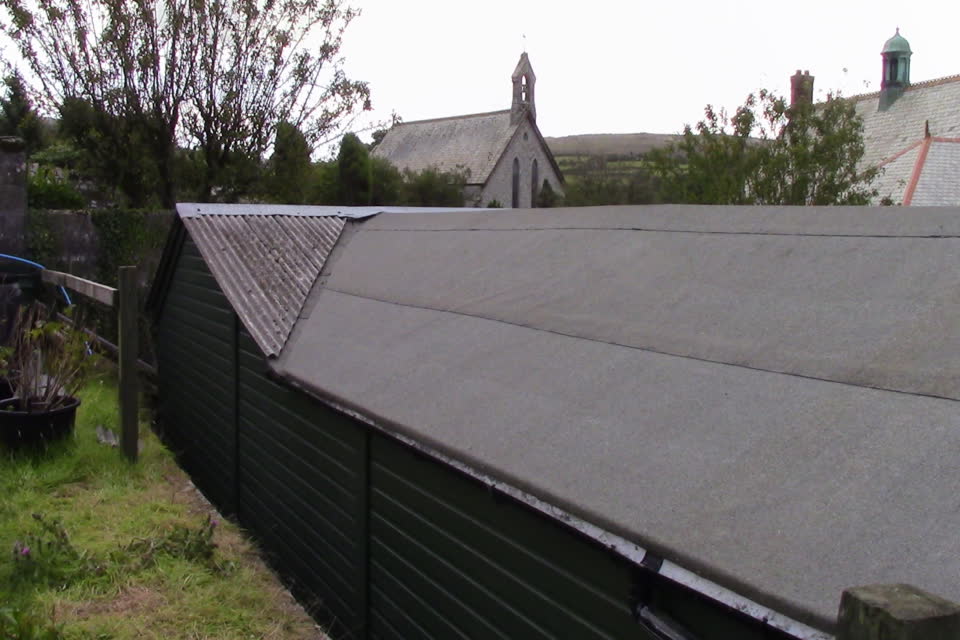
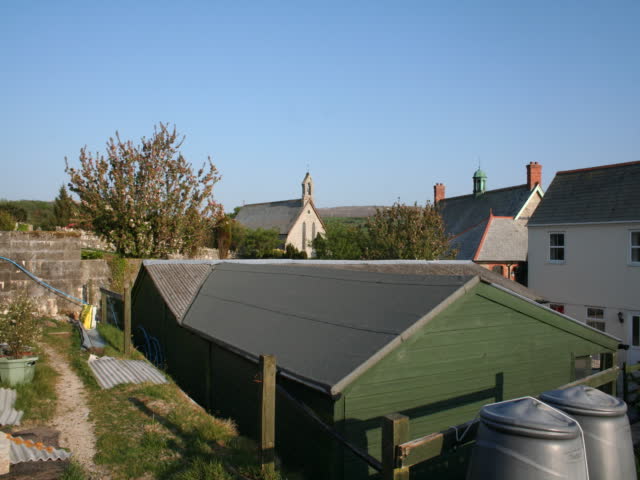
It was then a matter of fixing the underfelt to the boards in preparation for the top felt to finish off the new roof covering. I did not take any photos of the boarded roof finished so have moved on to these photos of the top felt laid in situ, this part of the roof was finished except for fixing down the apex felt once the other side was done.
The south side of the roof was to have triple-wall plastic panels from one end to the other so as to allow for maximum light in the growing room to let the seedlings get access to natural light all day long which is important for their development. The panels, although fairly light for their size, were large so as to cut down on unnecessary joints on the roof - less joints, less chance of water ingress.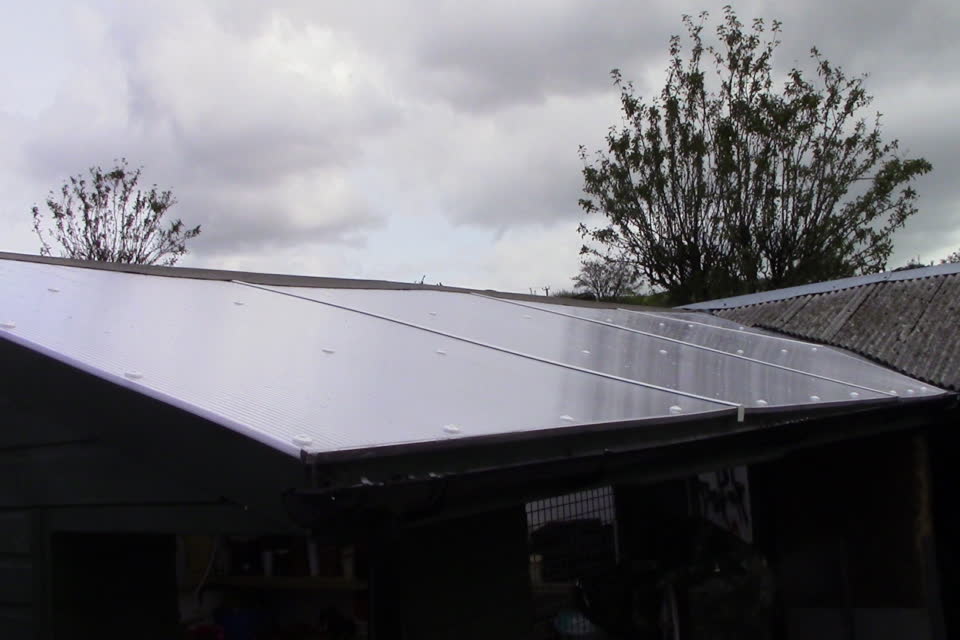
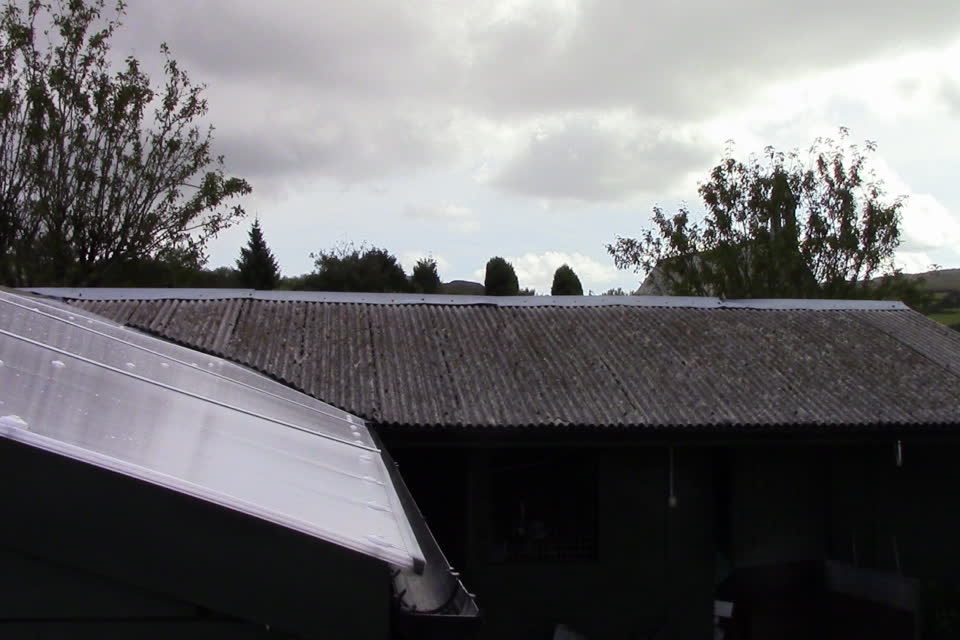
From these photos, you can see that we only used three full panels to cover the whole side and this does let the light in just right for what we need. Once these panels were cut, fixed, and secured to the roof timbers, the felt apex could be stuck down thereby sealing of the roof from any bad weather. The two workshops were then protected from the elements and remain dry to this day, and hopefully, for many years to come.
The front of the growing room was also paneled with the same plastic sheeting to allow for maximum lighting, and this has proved itself to be invaluable. We shall have to turn our attentions to the east side of the stable roof that still has its concrete panels on as they are not fully waterproof, but only allow a few small drips here and there, but as we are using them for storage at present, we have much more demanding tasks to get on with first.
But eventually, the east side will be renewed in the same manner with those triple-wall panels used on the same side as the workshops to allow light into those rooms too. Although this task was not a groundbreaking event, it had to be addressed in order for us to use the workshops in the manner we needed to without there being further problems thrown up at some later date.