The Sand Ring Shed Build
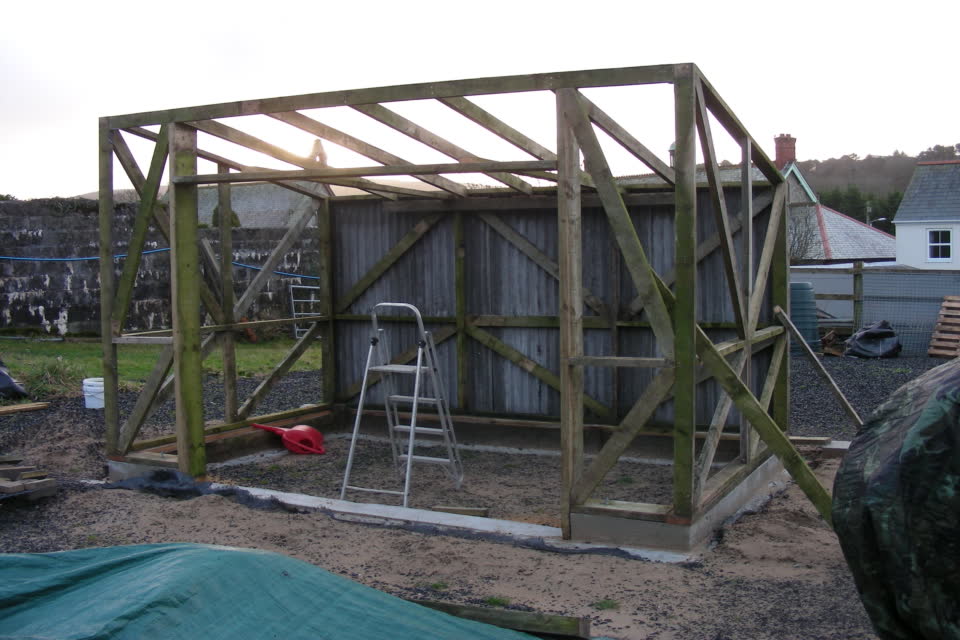
We needed a storage solution for the sand ring area to house tools, bags, cement mixer, etc, so it seemed the best thing to do was to build a fair-sized shed to hold these items. As we had plenty of timber from the fencing and baseboards, along with the cement sheets from the Stable Block roof, it seemed natural to use those materials to construct the shed we required.
The base was made from concrete poured into a framework and once dry, the framework was taken apart to be used elsewhere. Threaded steel bars were set into the base as it was setting so the upper frame could be bolted onto the base and secured with large nuts and washers. Once this had dried out, the base plates for the frame were bolted to the base, then the rest of the frame was built up on top of these baseplates. In order to make sure the frame was solid and secure, numerous cross braces have been set into the frame to stop any movement from wind.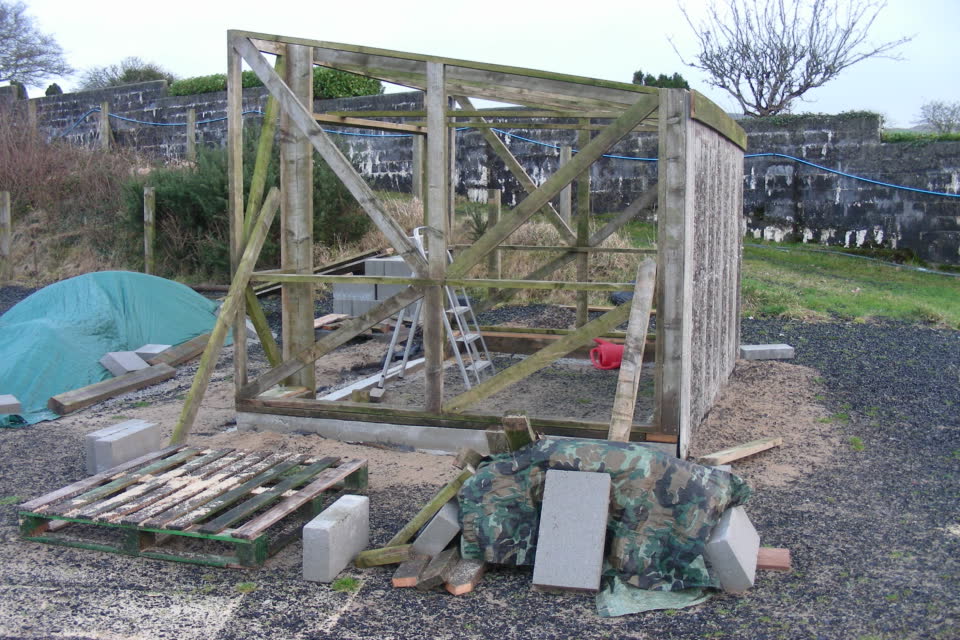
The shed frame is nearly done.
Once the frame had been built and secured the concrete sheets from the stable block roof were placed onto it in vertical positions to make the walls waterproof and to further stop any possible movements. These sheets were set around both sides and the rear of the shed whilst the front side had featherboard set onto the frame to give it a rustic look.
At this point, the only outlay so far was for the screws and nails, cement and ballast for the base, the rest of the wood came from the fence around the sand ring. As we were to hang large doors from the frame with an 8ft opening, the frame by the doors had to be very strong and impervious to bending under the weight, so for this, 7x2 inch timbers were used from the sand ring base boards which have been excellent for this particular job.
As the walls were now up, attention turned to the roof, and again, builders OSB boards were used for that to provide a smooth surface roof as the capsheet was going to be made from rubber membrane.
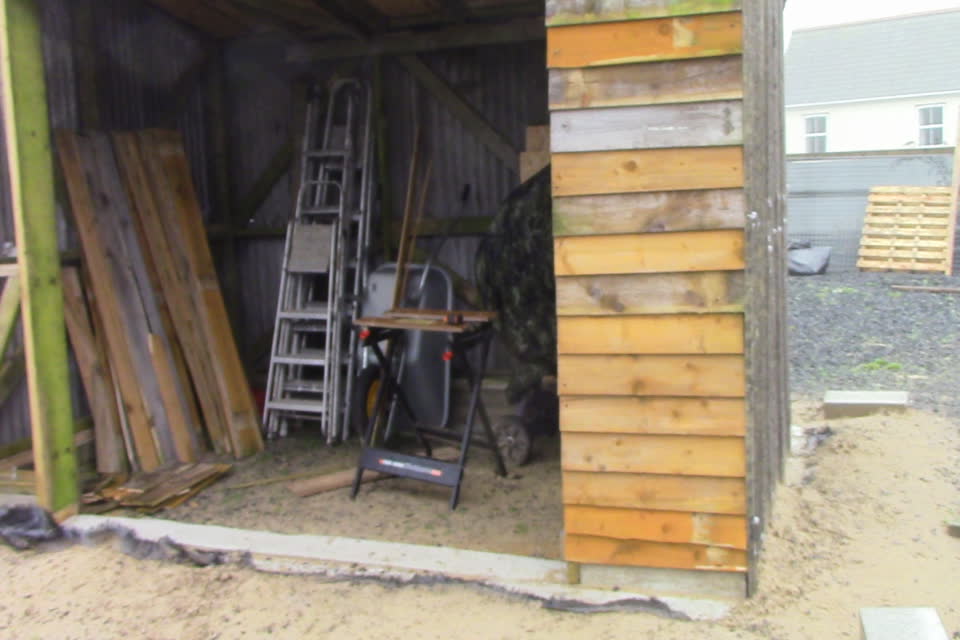
The nearly finished shed on the sand ring.
With the roof boarded out it was ready for the final roof covering and we had a rubber sheet delivered to do just that which was glued down to the roof boards and secured around the edges with wooden battons. The inside of the shed was now waterproof to an extent with just the front still open to the elements but as the shed faced north into the sand ring it was very sheltered indeed.
From this photo you can see the cement sheets from the inside of the shed which were secured to the frame with roofing screws and caps. Next came the doors! These were going to be four feet across and seven feet high so they needed to be strong and solid. Paul built these just by the shed so they did not have to be carried up to the sand ring, and they were secured on large heavy hinges that were up to the job. The front of the shed was to be clad in this featherboard in the photo which was donated by our new neighbours John and Nicky - many thanks.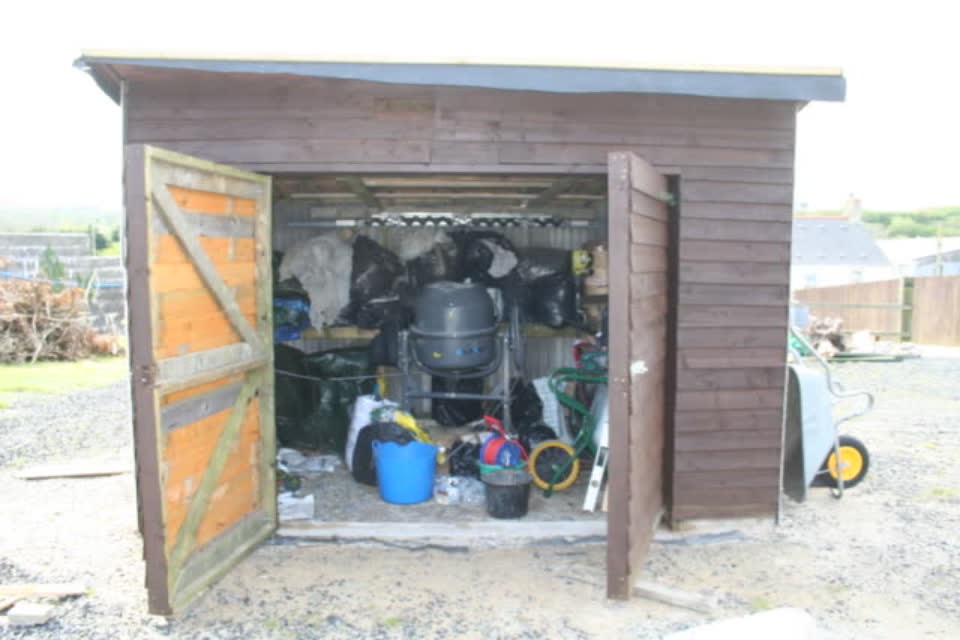
The finished shed on the sand ring.
The shed is nearly finished but there is one last task to do and that is to lay a concrete floor on top of a membrane. At present, the floor is the same as the sand ring floor and does get damp at the front of the shed so this will have to be made good in due course.
So that is the shed project that was done and it does keep a lot of the miscellaneous stuff that you use in gardening out of sight, but ready to use. The guttering channels the rainwater into two water butts to use in the polytunnel and on the blueberry bushes and as an extra job, Paul built a raised bed behind the shed which we grow all sorts of stuff in such as potatoes, carrots, lettuce, and so on. It did seem a shame to use the purpose-built sand ring which must have cost quite a bit for basic things such as a shed and the new polytunnel coming soon, but what else could we have done with it? 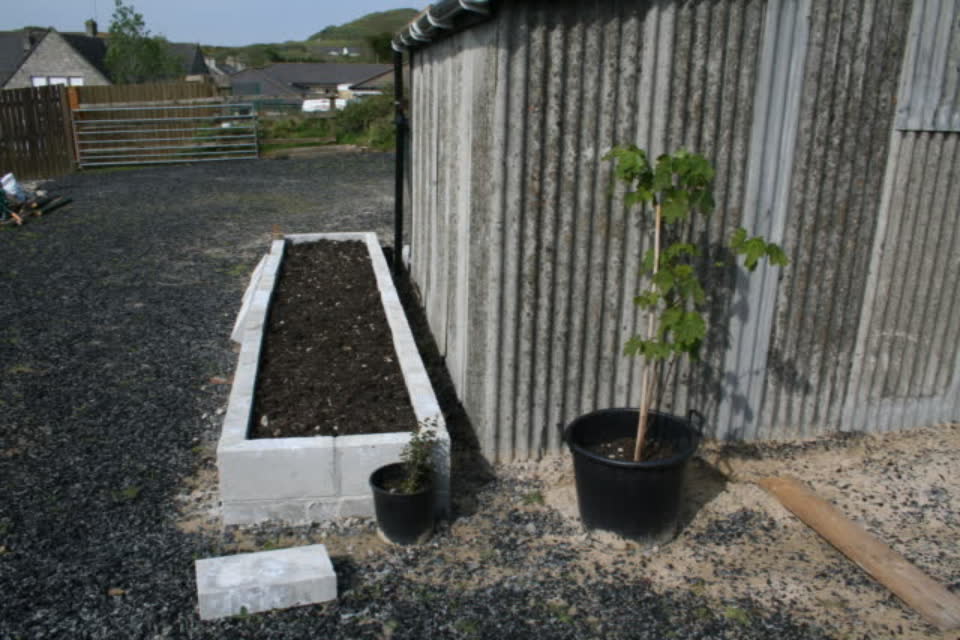
The Raised bed at the rear of the shed.
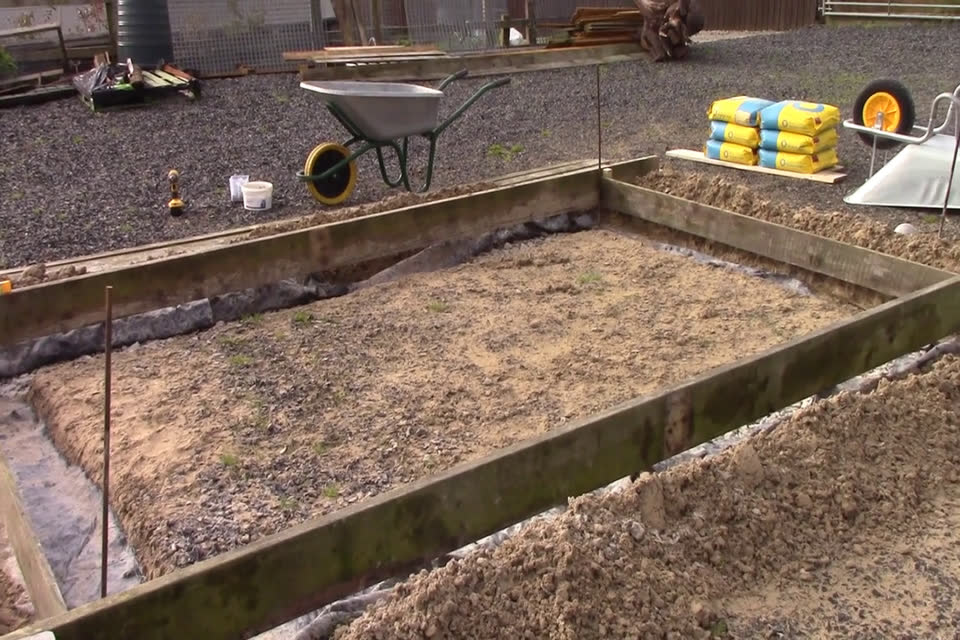
Building the forms for the concrete to be poured into.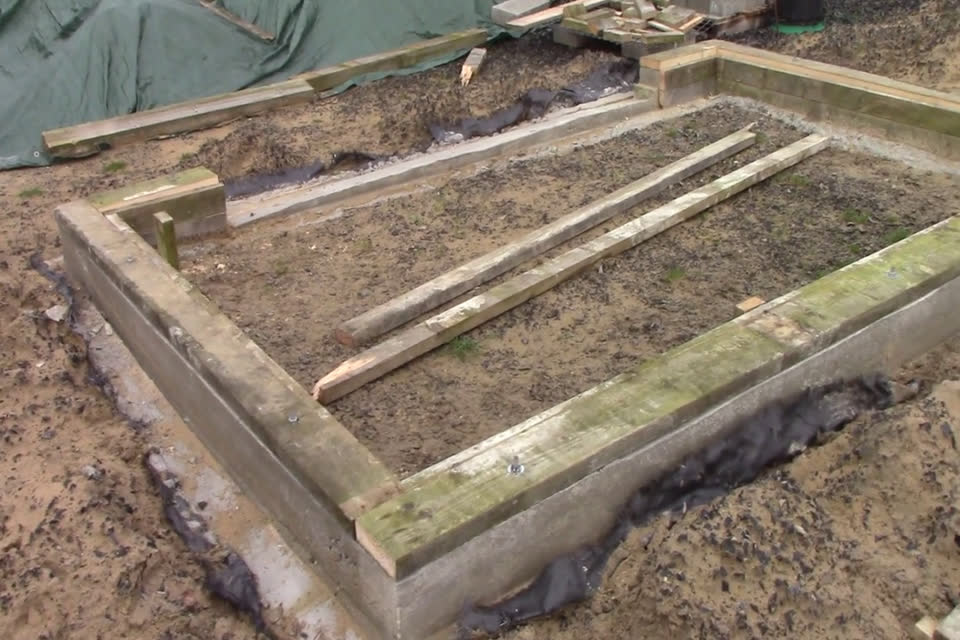
Concrete foundations are in and base plates fitted.