Garden Hut - Our place of refuge
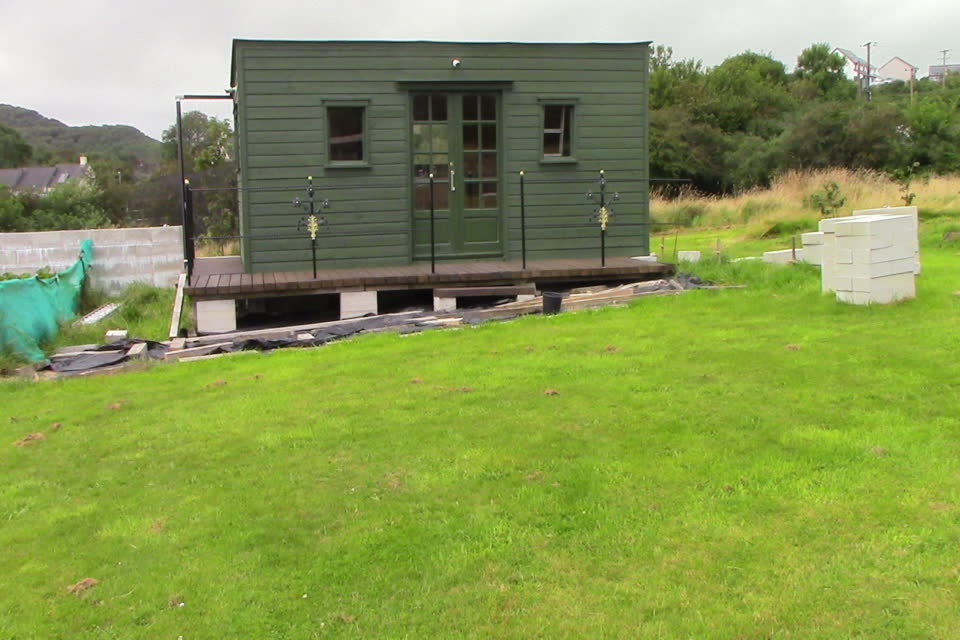
The hut was another large build like the wall, but using different materials for the most part. The foundation was built using concrete blocks. two or three high, depending on the slope of the field. Four corner posts were set into concrete and concrete blocks were built up around them to give lots of support and strength. Wooden plates were fixed to these posts and then the build of the wooden frame could begin, and time was of the essence as we needed a dry and secure place to put the tools and other building items instead of taking them back down to the sand ring shed each day.
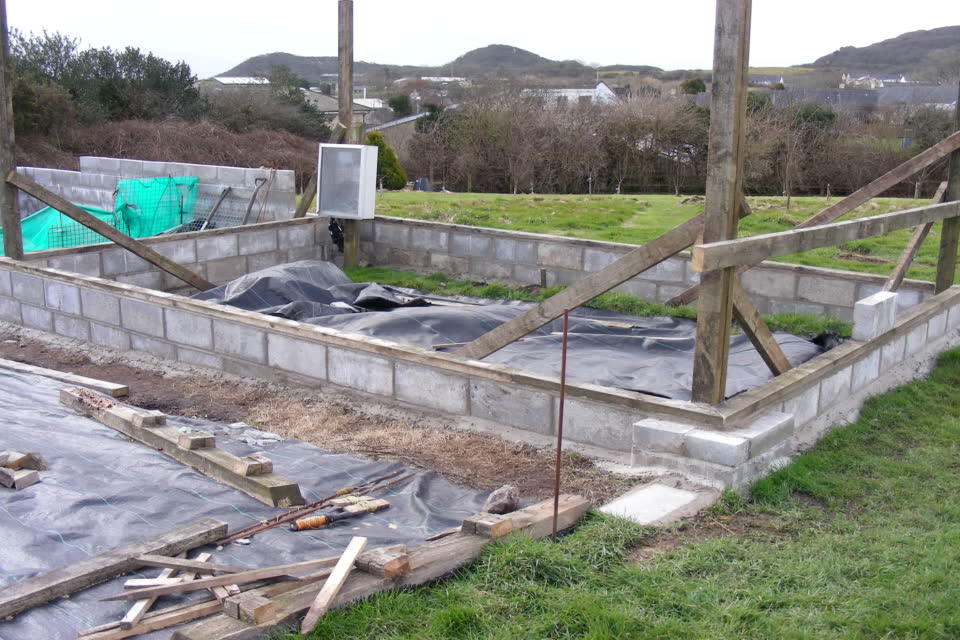
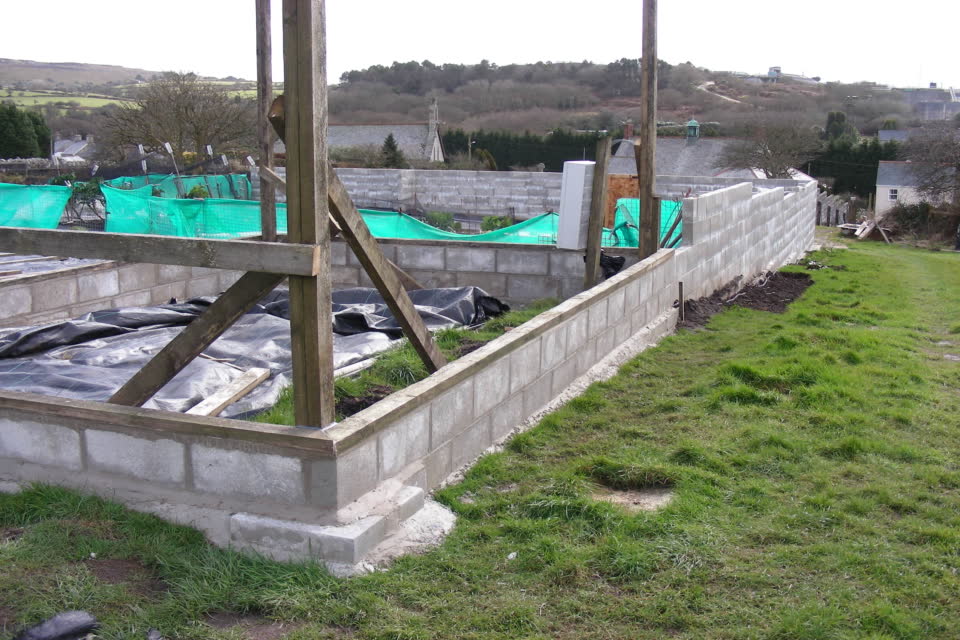
The small box holds the cables that were run up from the sand ring. View of the hut foundation with corner posts set and base plates laid.
The timber for the hut frame all came from the fencing in the field that was no longer required so was utilized in the hut build. It formed the corner posts and the whole of the hut frame, including the floor and roof joists, base plates, window, and door frames, the only bought in materials were the shiplap timber for the skin, the OSB board for the roof skin, and the boards for the floor. The floor joists were laid on joist supports and fixed to the base plates which in turn were fixed to the corner posts, and the roof joists were fixed to the upper frame, which as it went up, become very strong and sturdy with absolutely no movement at all.
The positions for the windows and doors were laid out as the build progressed and the next part of the build was to be the floor, so we could move around inside the frame on a flat surface in safety. The floor timbers are 7 x 1 inch and provide a very solid floor, and laid on the 7 x 2 inch floor joists, gives no room for movement at all, but does provide that lovely springy feel we like on a wooden floor. Once this was laid, it made the build easier to get on with the next step of getting the roof boards on so the roof could be made waterproof with the rubber membrane, and Paul did this in record time so we had somewhere to shelter from showers, which, fortunately, were scarce at that time - lucky for us!
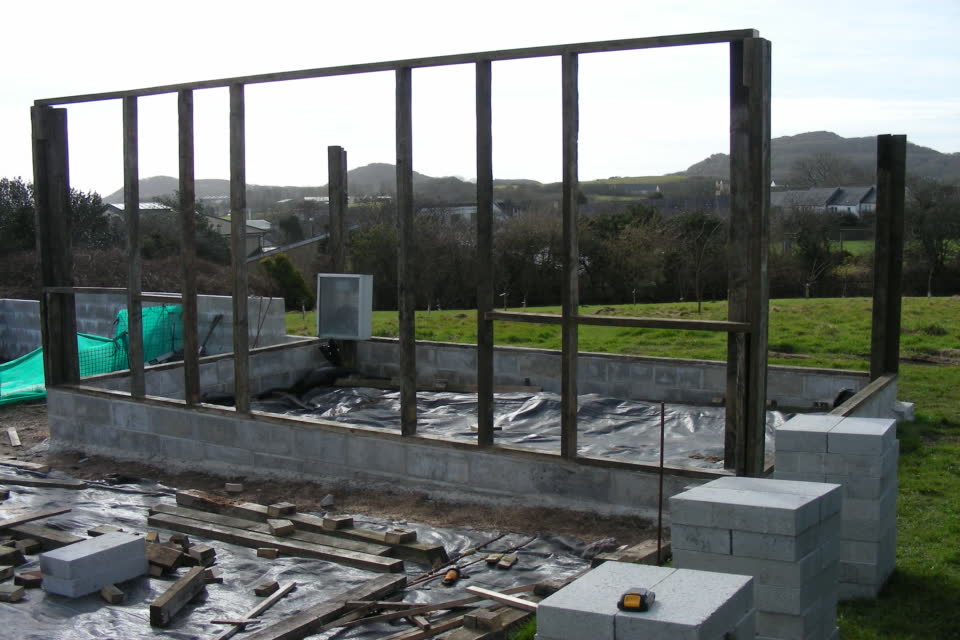
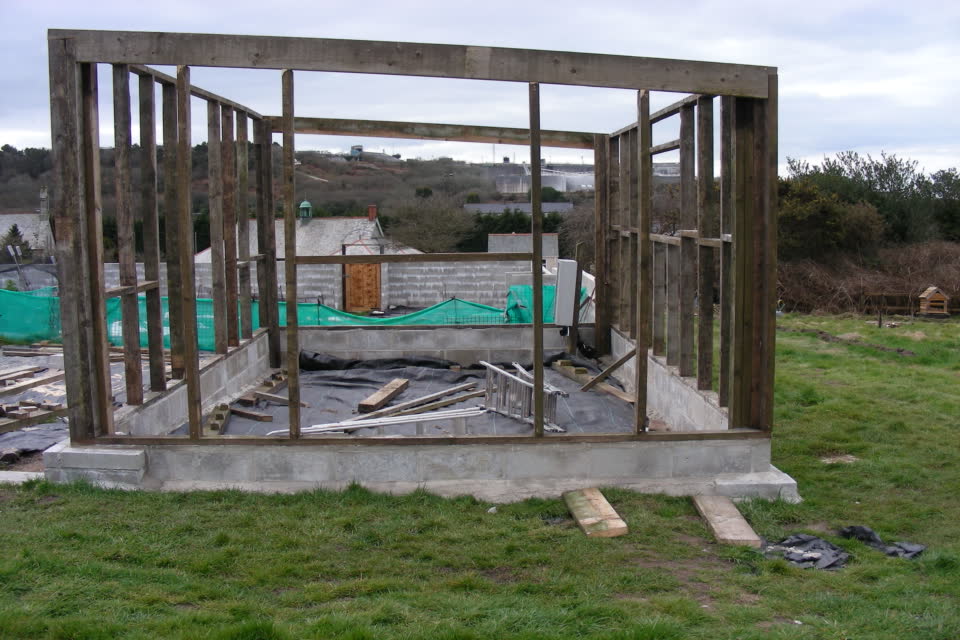
The start of the garden hut frame. The frame is now taking shape.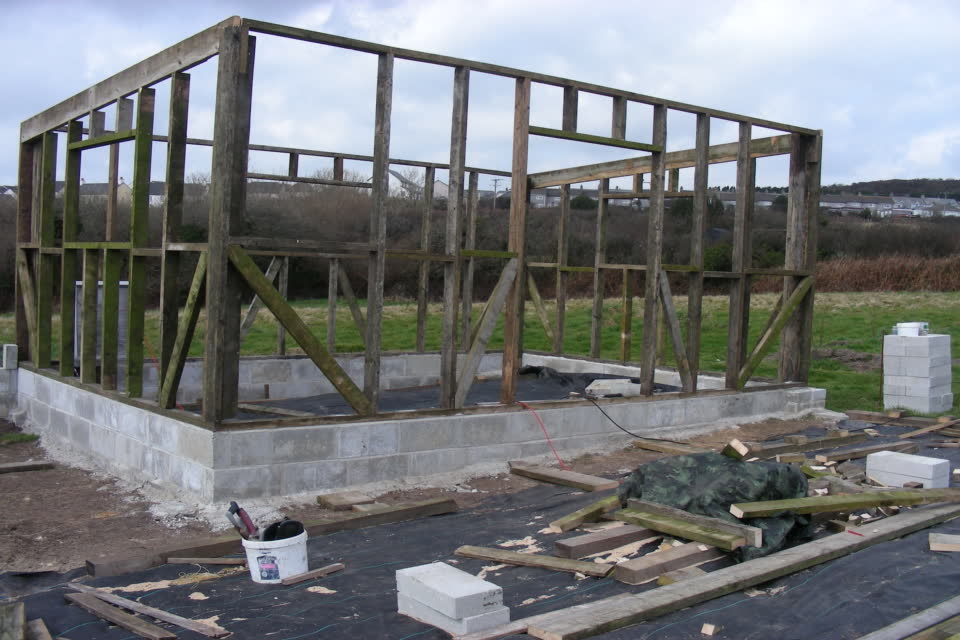
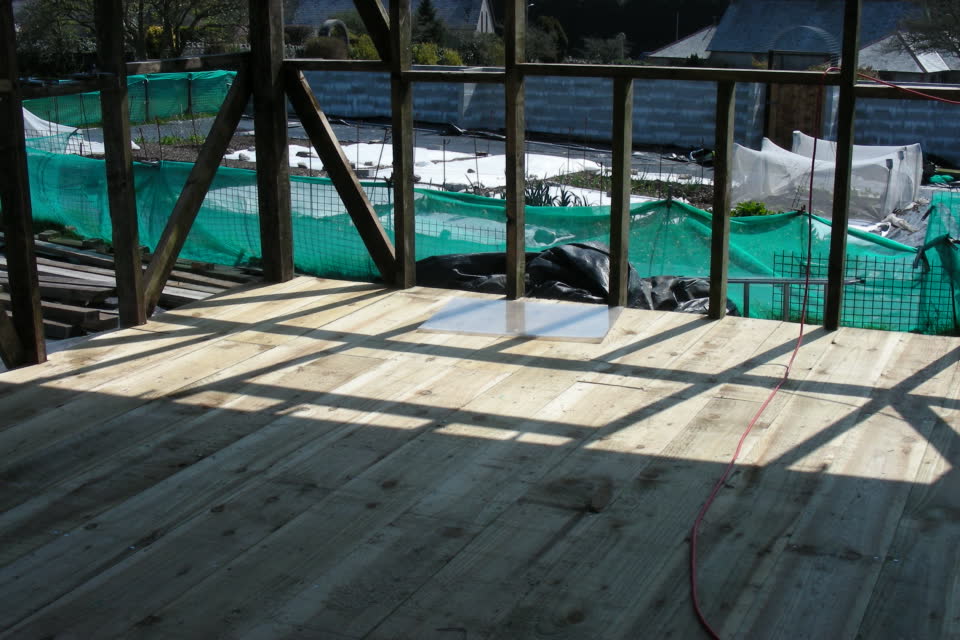
The frame is nearly finished. This view shows the floor laid down inside of the hut frame.
The last job on the frame was to place the bracing timbers whose job is to negate any movement due to high winds which can be harsh this high up in Cornwall. We are at around 550 ft above sea level here so the winds can be challenging at times until we get the natural windbreaks up in the way of shrubs and trees, and this could take a good few years. The rubber membrane was the next to be fixed and it was a large one at 6x5 metres, and weighed quite a lot although we did not weigh it. It only took 3-4 hours to get this job done, and it was a relief to have it done
The roof joists were also hung with joist supports which are quick to install and provide great strength to any build. Now we had a finished frame, floor, and roof, so it was time to move onto the external cladding in the form of treated shiplap timber, and for a hut this size, there was an awful lot of it. A plastic sheet was stapled onto the frame to give a waterproof membrane between the external and internal walls, just in case of leaks.
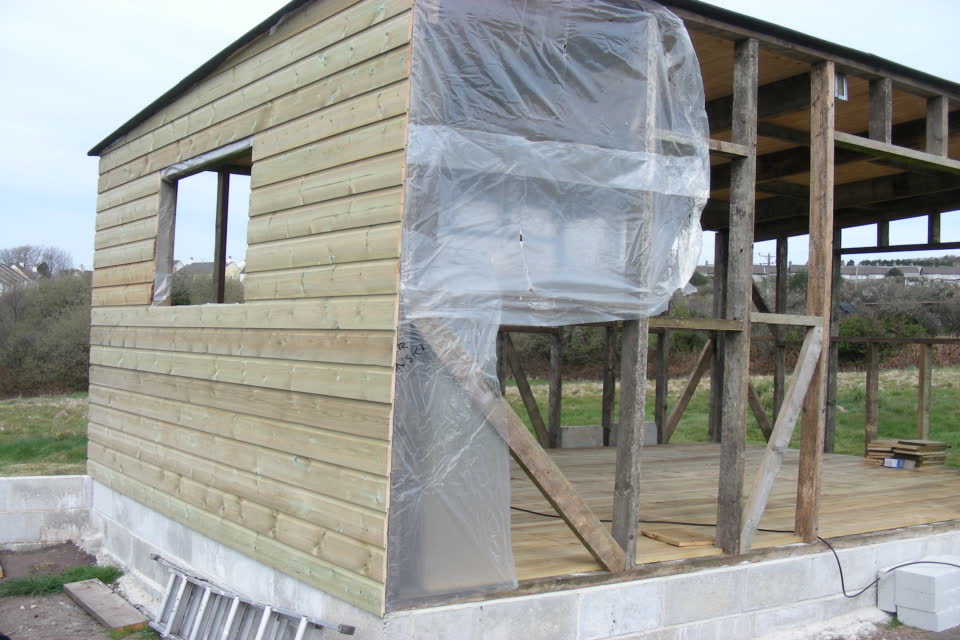
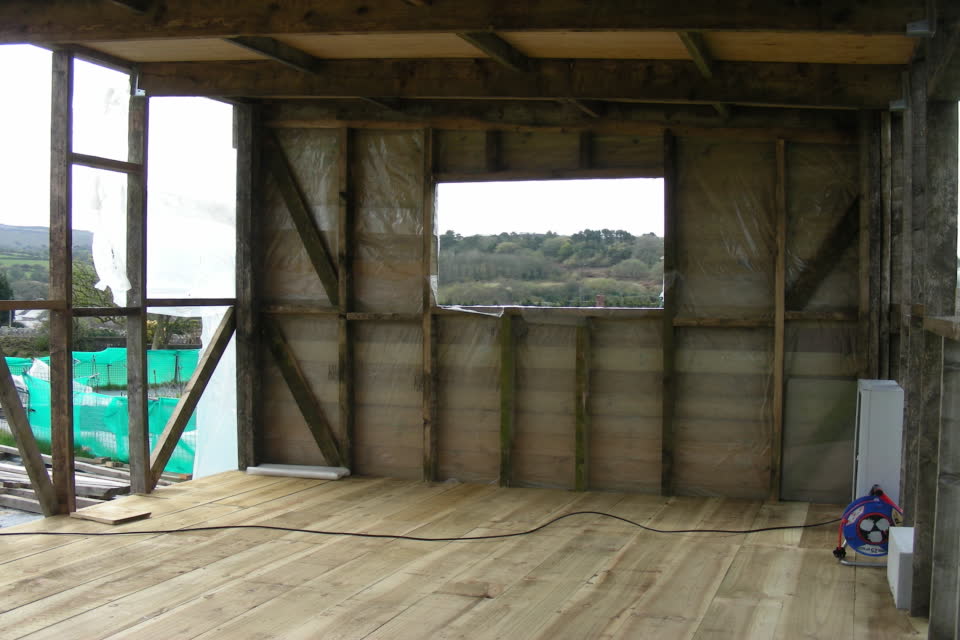
Plastic membrane and shiplap cladding fixed onto the South side. Internal view of the hut being clad.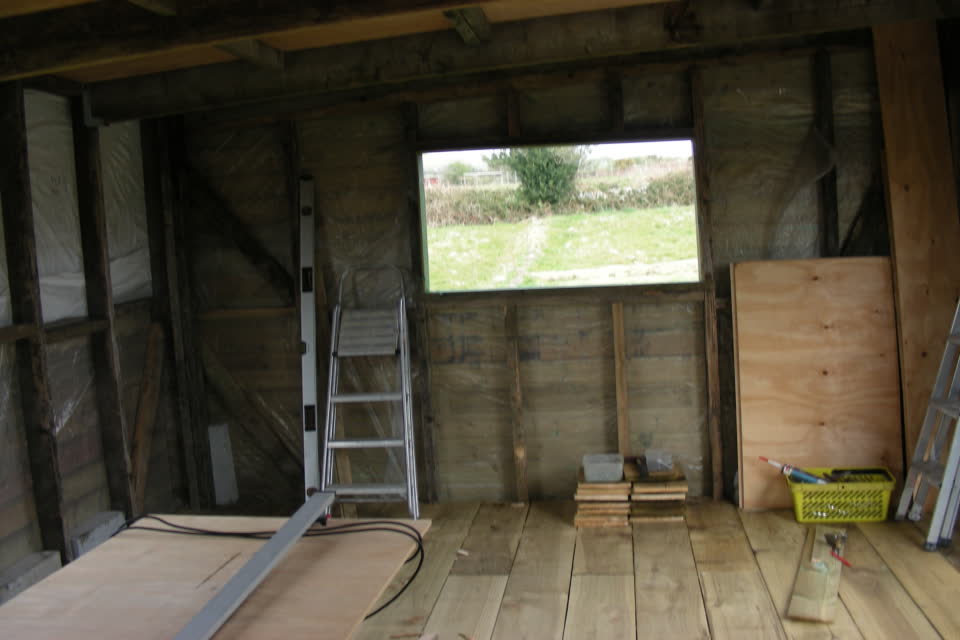
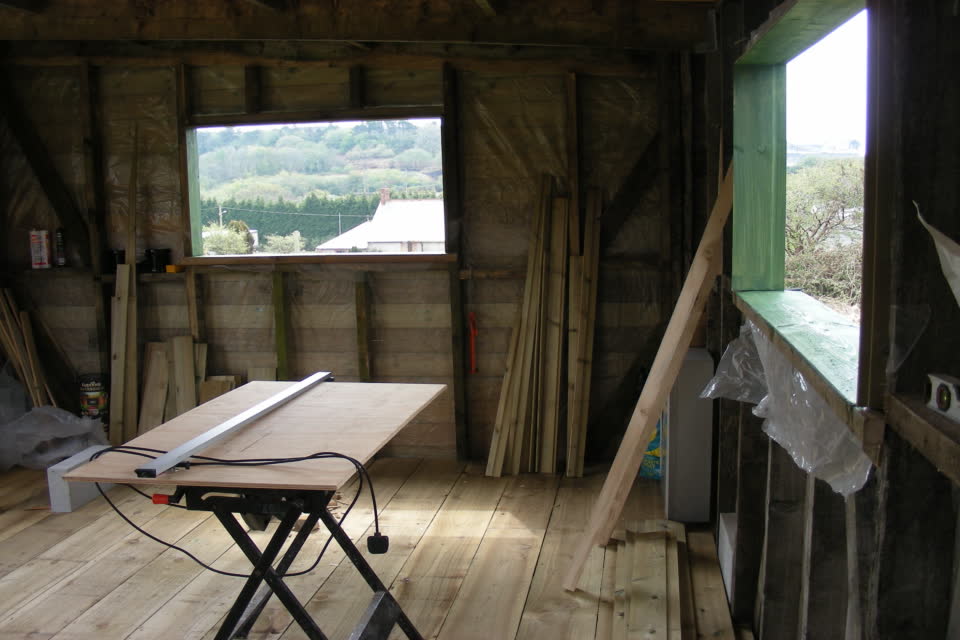
Internal view of the hut showing the cladding nearing completion. South view of the hut from the inside.
As the build progressed, it became more comfortable to work on it as any wind was cut way down, and any showers were of no concern as most of the work was internal. Once the cladding was finished, the window frames were cut and fitted, and all of the parts were hand-made to size. We have three large windows on the North, West, and South sides, with opening frames to allow airflow during the warmer months, and the two smaller windows on the East side, either side of the doors, are fixed, for light only as the doors can be left open to allow air in if desired.
Building all the frames, window sills, Etc, took quite a bit of time to do, and just as much to fit them in place, but when each one was done, Paul stapled plastic over the window openings to stop rain from getting in, which could easily be taken down when required. We bought a couple of French doors to fit the opening on the east side and these were fitted, and glazed, to make the hut fairly waterproof until we could measure, order, and pick up the glass to seal the frames.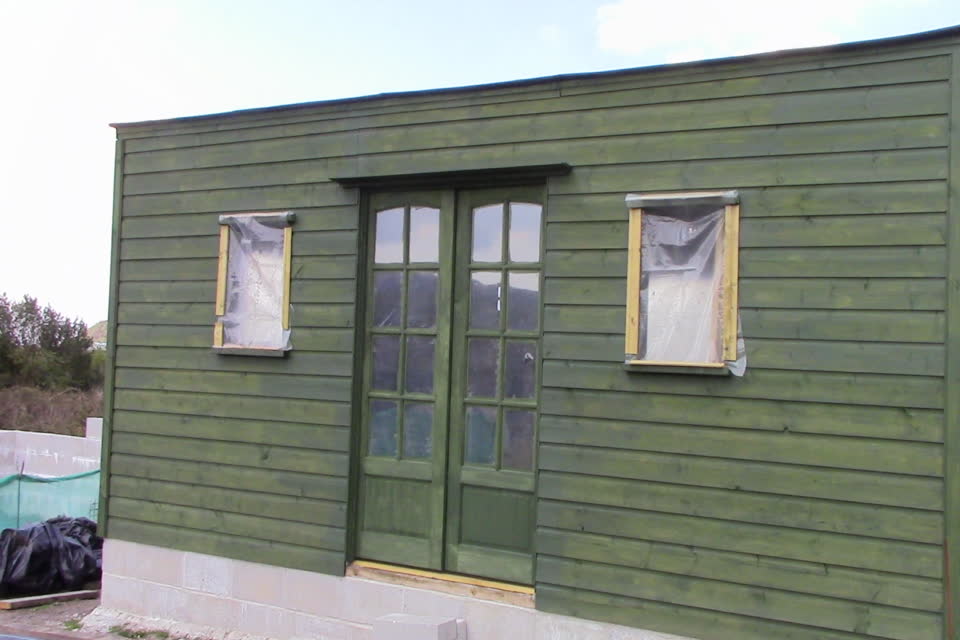
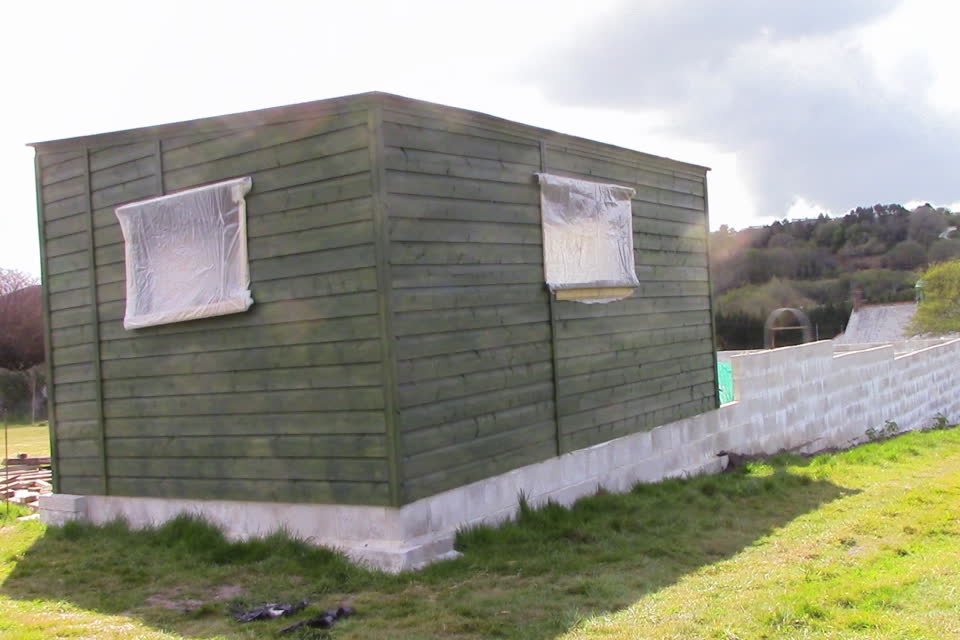
The hut entrance with double doors and plastic over the windows. North and West sides showing the windows sealed with plastic.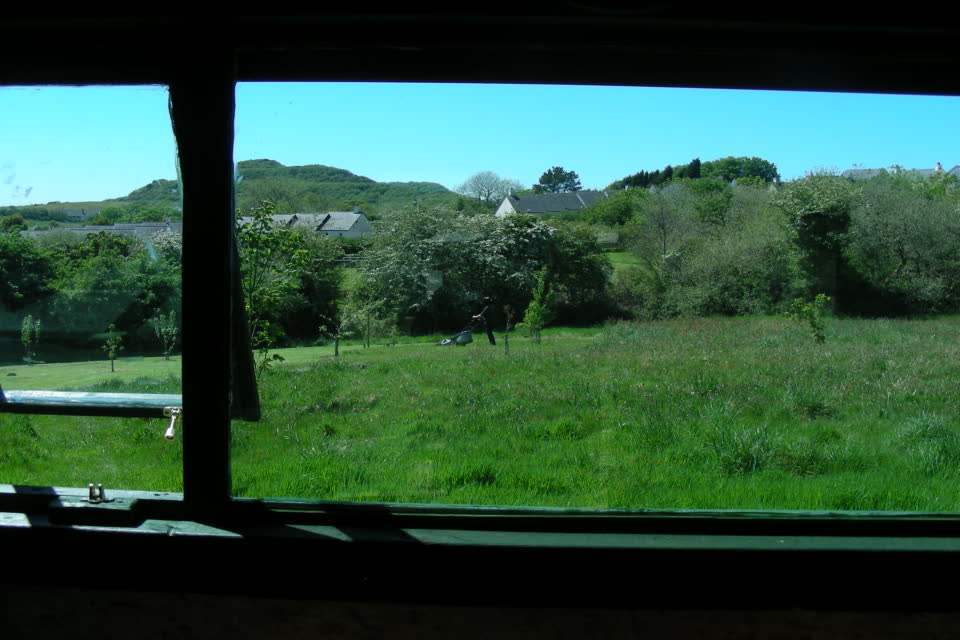
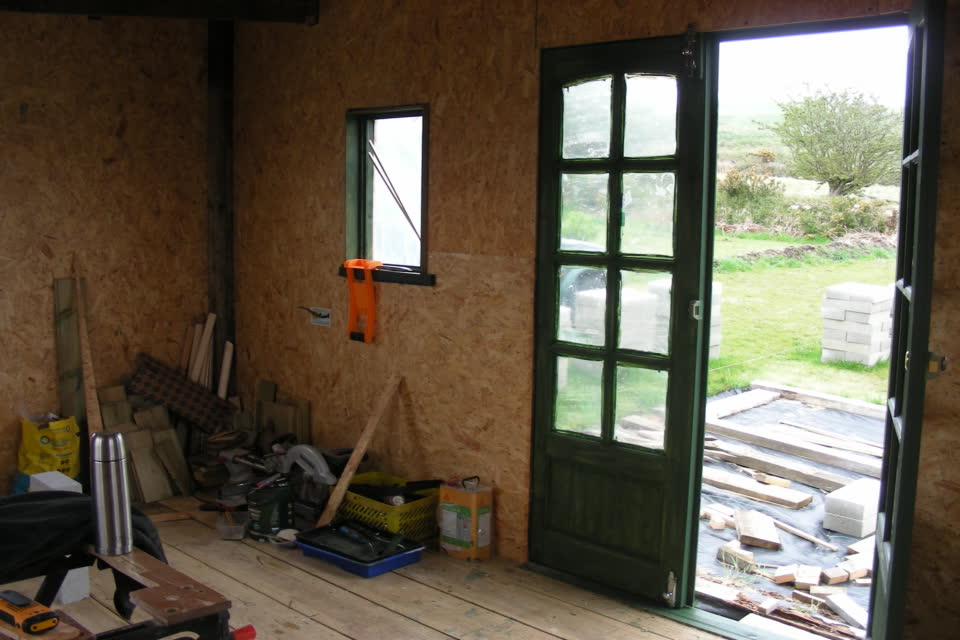
View from the West window, now glazed looking at the orchard. Doors and windows in and internal boarding being done.
After the glass was fitted in the window frames, the doors hung and locks put in, the internal boarding of the hut could be commenced. But first came the wiring of the hut. A ring main was installed to give 12 power sockets to the hut from all areas. The whole of the inside was to be clad in OSB board to give a clean finish to the build and to allow for fixtures and fittings to be put up without too much trouble. Hiding the frame between the internal and external skins also eliminates the build-up of spiders webs in every nook and cranny.
The boarding was completed very quickly over a few days, certainly less than a week, and we moved some older furniture from storage up to the hut, and then it was time to fit the electrics and internet cables up. A breaker unit was fixed onto the OSB board and the cables previously run in were connected and made live, the internet cable was also brought online and we could then access the internet from the hut.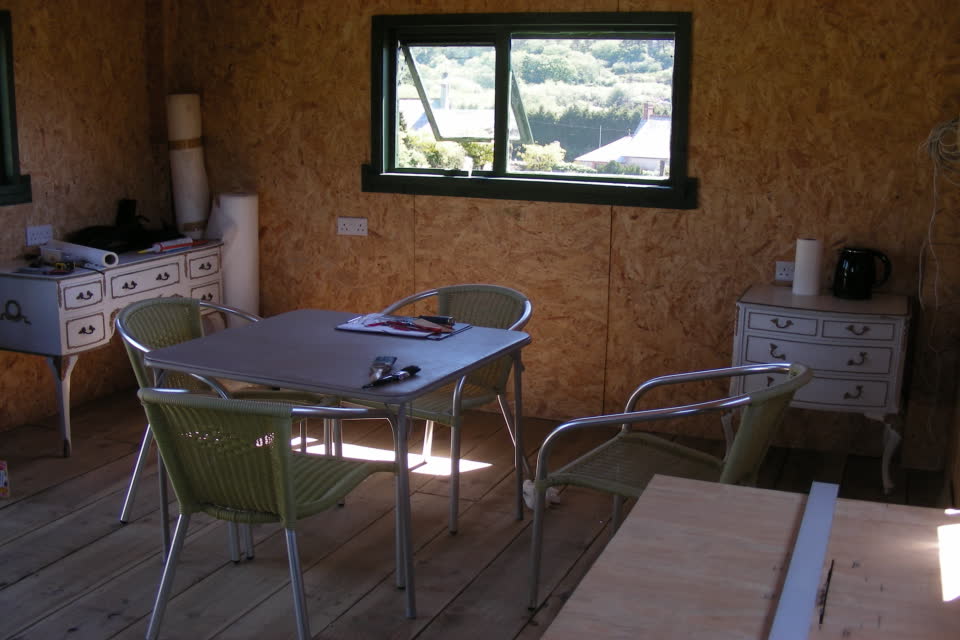
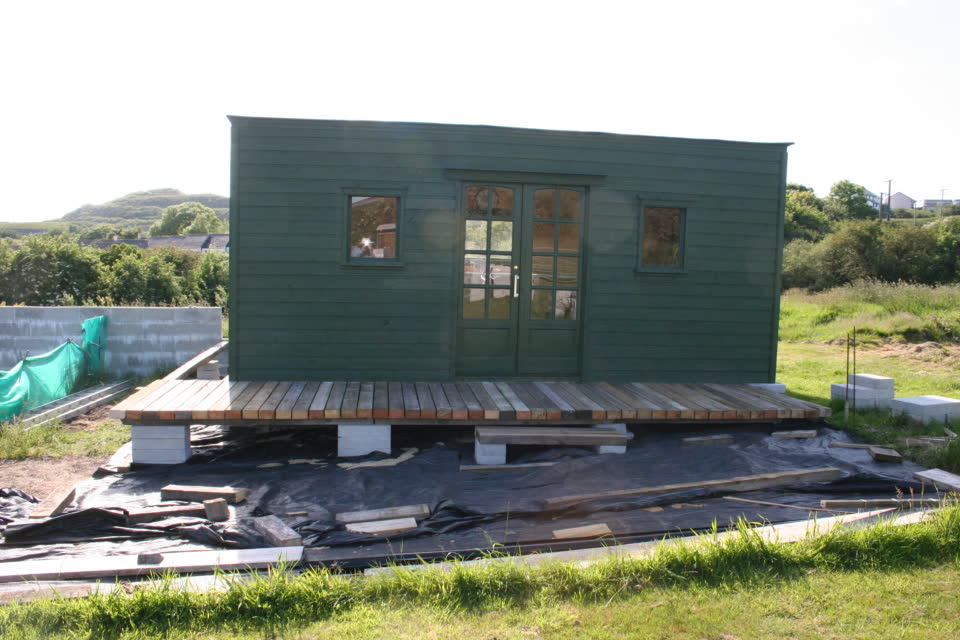
We moved some of our older furniture up to the hut for storage. External view of the hut nearly finished and the veranda is in place.
The next part of this build to be undertaken was the veranda which was to use all of the old fence posts as the base. These are very sturdy posts and did the task very well and feel great to walk on, but we ran out of fence posts for the south side of the hut to the middle gate and had to buy some decking to finish off that part, but once everything was treated with non-slip paint, it all looks great. Then it was back inside the hut to install the kitchen tops, build a sink unit from OSBoard, fix the sink unit, and connect the water, this is all operational now and it is great to have the sink to wash our hands in, and do any dishes. There is no hot water and we do not plan to install any as we have a kettle there if we really do need to have hot water for a particular task.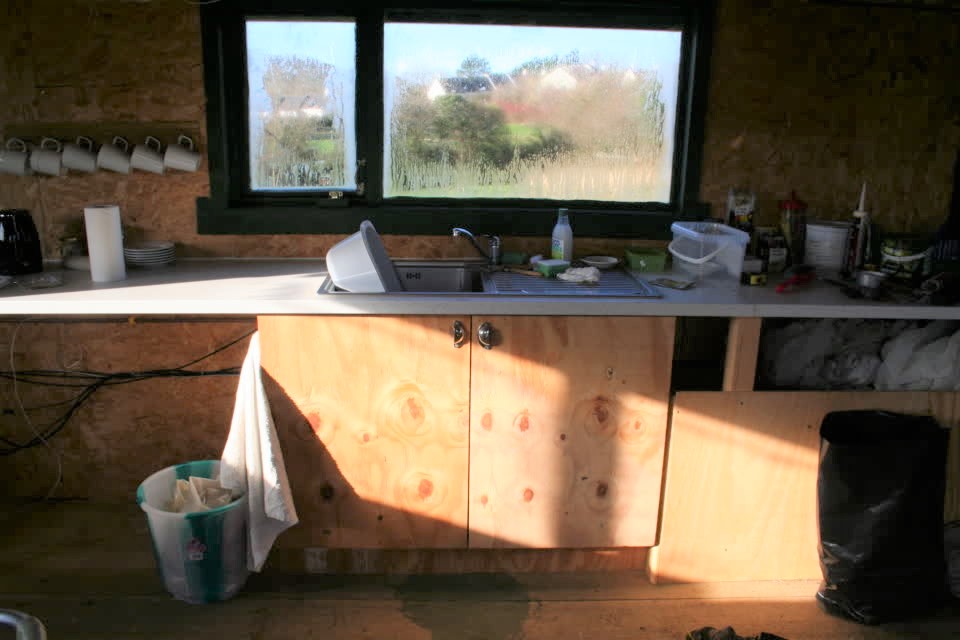
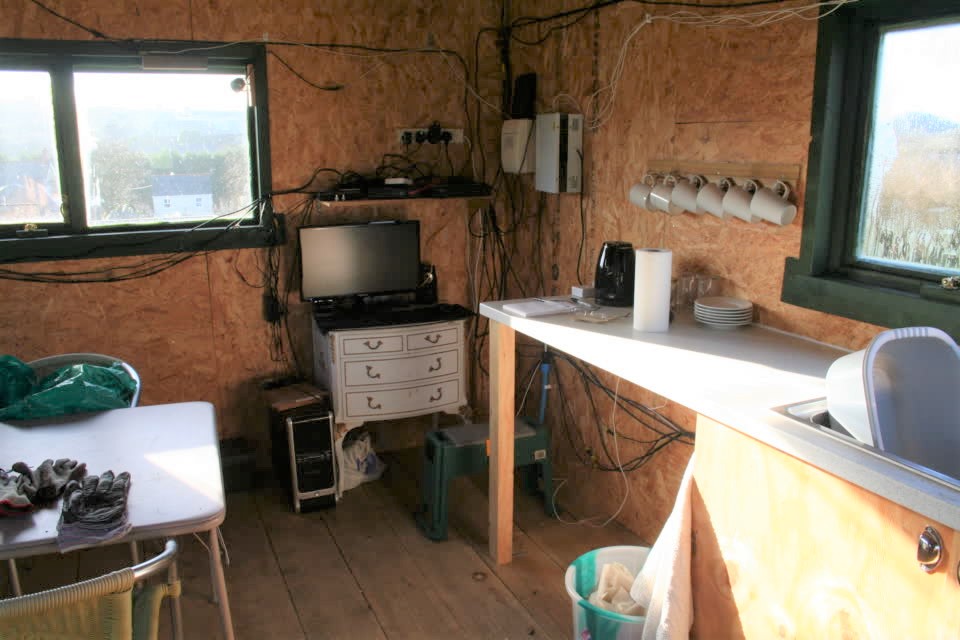
The installed sink unit complete with tops. Another view of the hut inside showing the worktop and table.
We have a couple of small jobs to finish outside the hut, the veranda needs to be completed by the new North wall, the platform for the 3 water butts needs to be built on the Southside of the veranda, and the flower beds and seating area at the front of the hut needs to be finished before we get the dwarf fruit trees put in around the seating area. When these jobs are completed we shall update this page with further photos and info of what we have done.